πŸͺšHome SkillsHub ✦ phyrenix.com
✦ 18 HOME SKILLS TOOLS · FREE INSTANT ANSWERS

Home skills answers that make the house feel less fragile.

Most of what makes a house feel fragile is not big money — it is the small jobs nobody has shown you once: unclogging a sink, stopping a running toilet, bleeding a cold radiator, hanging a shelf that stays up, painting a room without three trips to the shop. This hub teaches the practical basics with honest tools: paint a room time and cost estimates, starter tool kit costs, smoke alarm plans by floor, caulk needs by the tube, home repair fund targets and seasonal home checks — plus plain-language guides for tap washers, door hinges and creaks, locks, curtain rails, plastering small holes, deck and fence upkeep, appliance filters, emergency water, gas and power shut-offs, garden and compost basics and more. Educational only and honest about limits: gas, electrics, drainage and structural work are jobs for licensed tradespeople, and every tool says so. Free instantly; the full personalised report costs less than a coffee: $2.95.
18 toolsFree instant local answers β‰ˆ one coffee ($2.95) for the full reportNo sign-up Β· No spam Β· Educational

Plaster Small Holes: Filler Basics

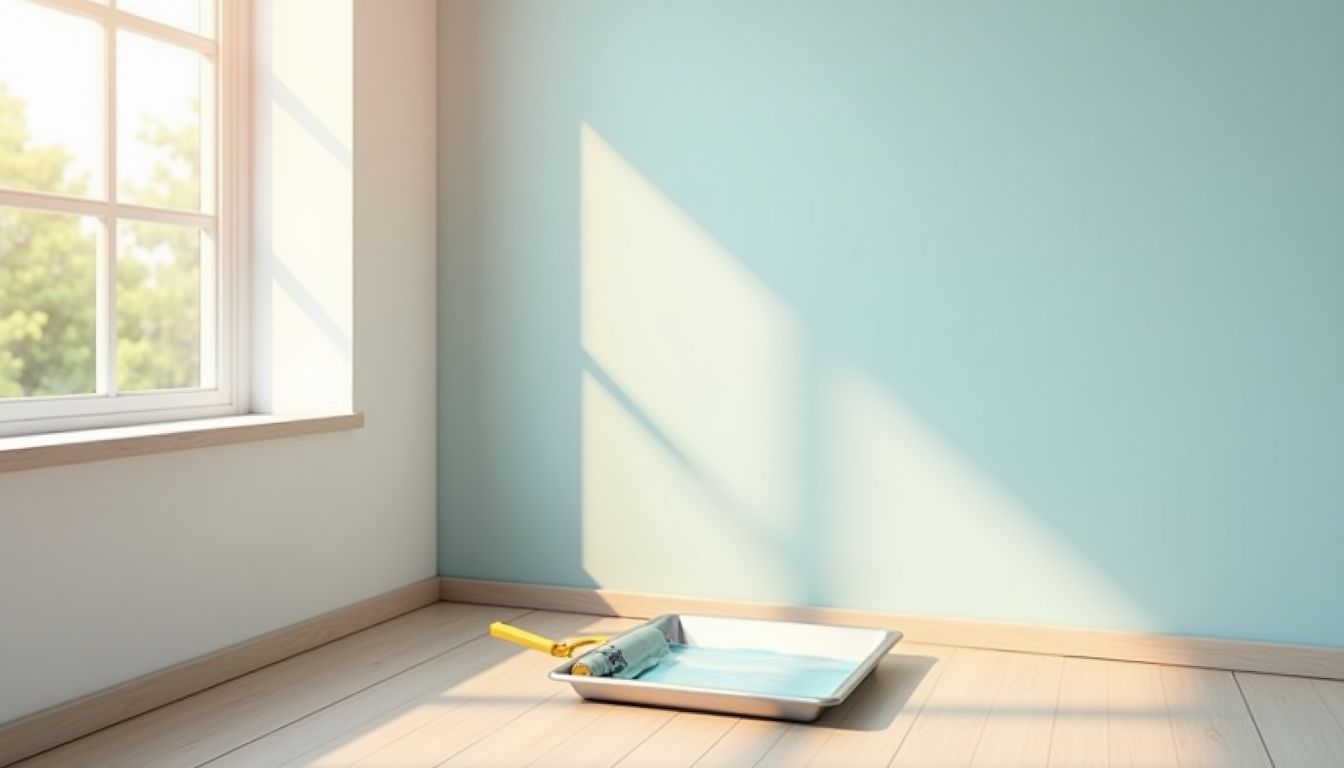
A cinematic photograph of a freshly painted sage-green room with a roller tray, paintbrush and a spirit level on a drop cloth, soft daylight through a window, deep green tones, photorealistic, no text

Small holes are a ten-minute skill, not a trade. Screw holes, nail holes, dings and hairline cracks up to about a quarter-inch wide take a little filler, a flexible filling knife and two passes β€” and the entire secret of a flush finish is understanding that filler shrinks as it dries. That is why the honest technique is to fill slightly proud of the surface and sand flat once dry, instead of trying to lay the filler perfectly level while it is still wet. This guide covers the three filler families and when each belongs (ready-mixed lightweight for small holes, setting filler for deeper ones, and a backing patch rather than filler for anything bigger than a coin), the few cheap tools that do the job, and the honest boundary markers: crumbling edges, damp, holes that reappear, or anything larger than a small patch all point to a wall problem that decorating will not cure.

⚑ Free instant check

Fill screw holes, dents and small dings so they disappear under paint β€” the filler, knife and sanding basics that make small holes vanish, plus the honest line between a hole and a repair job.

Answer 0-10 (10 = the stronger end for every question β€” no wrong answers). Your answers stay on this device β€” nothing is stored.

I guess and hope β€” 5 β€” Measure first, buy second
Skip straight to the finish β€” 5 β€” Prep is half the job
Buying as I go β€” 5 β€” Kit covers the jobs
Everything looks DIY to me β€” 5 β€” Scope judged honestly

Why it matters

  • Small holes are a ten-minute skill, not a trade: screw holes, nail holes, small dings and hairline cracks up to about a quarter-inch wide take a little filler, a flexible filling knife, and two passes β€” and the secret to a flush finish is that the filler shrinks as it dries, so the honest technique is to fill slightly proud and sand flat once, rather than trying to lay it perfectly level wet.
  • Filler choice is simple once you know the three types: ready-mixed lightweight filler for small holes and dings (dries fast, sands easily), setting-type filler for deeper holes where you do not want shrinkage, and for holes bigger than a coin, the honest answer is not more filler but a backing patch or a plaster repair β€” filler thicker than about half an inch is a patch waiting to crack.
  • The tools are few and cheap: a flexible filling knife (the flex is what feathers the edges), fine sandpaper or a sanding block, and a damp cloth β€” and dust control matters more than skill, because sanding filler produces fine dust that settles everywhere.
  • The honest boundary is size and location: repeated holes from the same spot, holes with crumbling edges, damp or mould around a hole, or anything larger than a small patch is a sign of a deeper problem β€” and holes in plasterboard that are bigger than a fist usually need a proper board patch, which is a reasonable first YouTube project or a handyperson job, not a tube of filler.

Your checklist

  • Clean the hole: knock off loose paint and plaster, and wipe away dust so the filler has something to grip.
  • Apply the filler slightly proud of the surface with a flexible knife, pressing it in rather than just skim-coating over the top.
  • Let it dry fully (read the tub β€” most lightweight fillers are ready in 30-60 minutes) and sand flat with fine paper.
  • For deeper holes, fill in layers or use a setting filler, and for holes wider than a coin, back the hole first or patch the board.
  • Wipe the dust off, spot-prime if the surface is bare, then paint β€” two thin coats hide the repair completely.
  • Stop at the honest line: crumbling edges, damp, or a hole that keeps reappearing means the wall behind has a problem worth investigating before you decorate over it.

❓ Plaster Small Holes: Filler Basics β€” FAQ

Why does my filler sink after it dries?

Filler shrinks as it dries β€” that is normal physics, not a mistake. The fix is to fill slightly proud of the surface, let it dry fully, and sand flat. Trying to lay filler perfectly level while wet guarantees a dip once it shrinks.

What filler should I use for a deep hole?

For holes deeper than about half an inch, use a setting-type filler that does not shrink, or fill in thin layers, letting each dry. For holes wider than a coin, the honest answer is a backing patch or board repair β€” thick filler in a wide hole is a patch waiting to crack.

How big a hole can I fill with filler?

As a rule of thumb, screw holes, nail holes and dings up to about a quarter-inch wide are straightforward filler jobs. Anything larger β€” especially holes with crumbling edges or holes that keep reappearing β€” is a wall repair, and damp or mould around a hole is a problem to investigate before filling.

πŸͺš All home skills tools

Every tool answers instantly from our own knowledge and calculators — no AI wait, no account. Honest, practical DIY and home-care basics, always educational and never a guarantee of outcomes: unclogging a sink or toilet, fixing a running toilet, changing a tap washer, bleeding radiators, door hinge and creak fixes, locksmith-free lock fixes, hanging pictures, shelves and curtain rails safely, painting a room with time and cost estimates, caulking and sealing, plastering small holes, a starter tool kit with real costs, deck and fence upkeep, appliance filter cleaning schedules, smoke alarm plans by floor, emergency water, gas and power shut-offs, home repair fund targets, garden and compost basics and seasonal home checks. Each tool states its limits plainly: gas, electrics, drainage and structural work are jobs for licensed tradespeople, and nothing you type is stored. Results are estimates and learning aids, not professional advice. Want the deeper, personalised version? Each has a $2.95 full report.

πŸ”§ Fix It Basics
🎨 Paint & Put Up
🏑 Home Care & Safety
Educational home-skills information only — not professional advice, and never a guarantee of outcomes. These are the basics that work for typical homes, written from a general DIY perspective: codes, fittings and systems vary, and any job involving gas, electrics, drainage, or the structure of the building is a job for a licensed tradesperson in most places. If a fix is not working or you are not sure, stop and call a professional — that is a skill too. Refunds honoured.
Β© 2026 Home Skills Hub Β· part of the phyrenix.com network Β· WebMCP manifest Β· tools.json