πŸͺšHome SkillsHub ✦ phyrenix.com
✦ 18 HOME SKILLS TOOLS · FREE INSTANT ANSWERS

Home skills answers that make the house feel less fragile.

Most of what makes a house feel fragile is not big money — it is the small jobs nobody has shown you once: unclogging a sink, stopping a running toilet, bleeding a cold radiator, hanging a shelf that stays up, painting a room without three trips to the shop. This hub teaches the practical basics with honest tools: paint a room time and cost estimates, starter tool kit costs, smoke alarm plans by floor, caulk needs by the tube, home repair fund targets and seasonal home checks — plus plain-language guides for tap washers, door hinges and creaks, locks, curtain rails, plastering small holes, deck and fence upkeep, appliance filters, emergency water, gas and power shut-offs, garden and compost basics and more. Educational only and honest about limits: gas, electrics, drainage and structural work are jobs for licensed tradespeople, and every tool says so. Free instantly; the full personalised report costs less than a coffee: $2.95.
18 toolsFree instant local answers β‰ˆ one coffee ($2.95) for the full reportNo sign-up Β· No spam Β· Educational

Change a Tap Washer: Drip-Stopping Basics

A cinematic photograph of a tidy workshop workbench with a toolbox, plunger and radiator key on a wooden bench, warm practical light, deep green and charcoal tones, photorealistic, no text

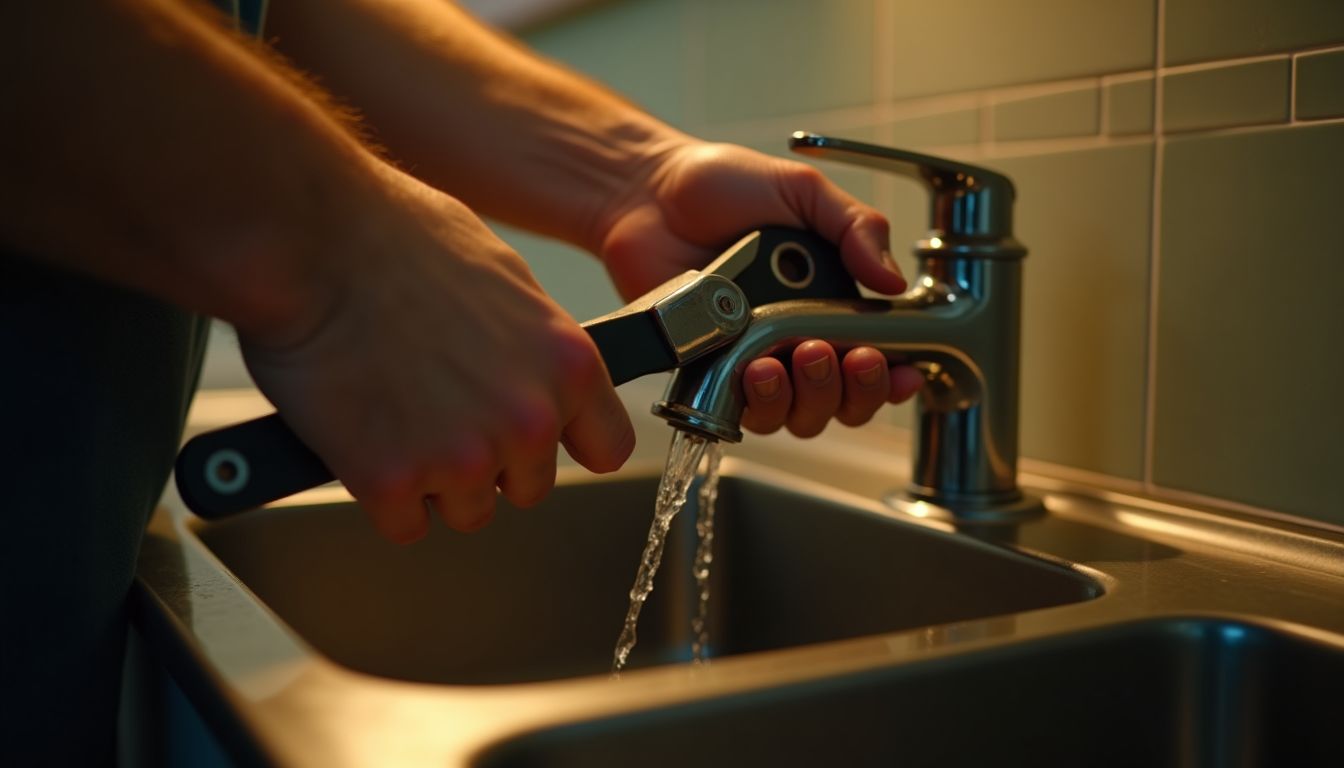
A dripping tap is usually a worn washer, and on traditional two-handle taps it is a genuinely beginner-possible job. The washer seals against the valve seat inside the tap, and after years of tightening it flattens or splits until a trickle squeezes past β€” the drip is the washer reporting for retirement. This guide covers the whole job in order: turning off the water at the isolation valve under the fixture (or the main stop valve), protecting the chrome with cloth before any wrench, taking the tap apart slowly and laying the parts out in order, fitting a correctly sized washer, and reassembling. It is equally honest about the modern twist: single-lever mixer taps mostly use ceramic discs or cartridges, not washers, so the drip on a mixer means a cartridge swap matched to the brand or a new tap β€” and a plumber is a reasonable call if you are not certain which tap you have.

⚑ Free instant check

The honest basics of stopping a dripping tap β€” isolating the water, taking the tap apart safely, fitting the right washer, and knowing when the drip means a cartridge tap or a plumber instead.

Answer 0-10 (10 = the stronger end for every question β€” no wrong answers). Your answers stay on this device β€” nothing is stored.

I would be stuck β€” 5 β€” I know the basics and the valve
Not really β€” 5 β€” Diagnose and fix the basics
No tools yet β€” 5 β€” Basics covered
I would try anything β€” 5 β€” Limits clear and respected

Why it matters

  • A dripping tap is usually a worn washer, and the job is genuinely beginner-possible on traditional two-handle taps: the washer seals against the valve seat inside the tap, and after years of tightening it flattens or splits so a trickle squeezes past β€” the drip is the washer telling you it is done.
  • Water off first, always: most homes have an isolation valve under the sink or basin (turn it clockwise to off), and if there is not one, the main stop valve for the house is the fallback β€” never open a tap body while water can still feed it.
  • The job is small and slow, not hard: unscrew the tap head or shroud, undo the backnut to lift out the spindle, remove the old washer and its retaining screw, fit a matching new washer, and reassemble in reverse β€” a socket or spanner set, a screwdriver and about 30-45 minutes are the whole toolkit.
  • Know when the old trick does not apply: modern single-lever mixer taps usually do not use washers at all β€” they use ceramic discs or cartridges, so replacing a washer on one does nothing; if a mixer drips, the honest options are a cartridge swap matched to the brand or a new tap, and a plumber is a reasonable call if you are not certain which you have.

Your checklist

  • Turn off the water to the tap β€” the isolation valve under the fixture if there is one, otherwise the home's main stop valve β€” then open the tap fully to drain the line.
  • Protect the finish: cover the tap with a cloth or tape before applying any wrench so you do not scar the chrome.
  • Take the tap apart slowly and lay every part out in order so reassembly is obvious.
  • Fit a washer of the right size and type for the tap (they are sized in fractions of an inch and come in fibre, rubber and other grades).
  • Reassemble, turn the water back on slowly, and test with the tap closed and then running.
  • If it still drips, the seat may be worn or you may have a cartridge tap β€” and if the drip is on a mixer or the job fought you, a plumber for one visit is cheaper than a flooded vanity.

❓ Change a Tap Washer: Drip-Stopping Basics β€” FAQ

Do I need to turn the water off to change a tap washer?

Yes β€” always. Most fixtures have an isolation valve underneath (turn clockwise to off); if there is not one, use the home's main stop valve. Open the tap fully after isolating to drain the line, and never open a tap body while water can still feed it.

Why does my mixer tap drip if it has no washer?

Modern single-lever mixers usually seal with ceramic discs or a cartridge rather than a washer, so replacing a washer does nothing. A dripping mixer generally needs a cartridge swap matched to the brand and model, or a new tap β€” and matching the right cartridge is where a plumber earns the call.

What size washer does my tap need?

Tap washers are sized in fractions of an inch and come in different grades (fibre, rubber and others). The honest method is to take the old washer β€” or the whole spindle β€” to the hardware shop and match it, rather than guessing at sizes.

πŸͺš All home skills tools

Every tool answers instantly from our own knowledge and calculators — no AI wait, no account. Honest, practical DIY and home-care basics, always educational and never a guarantee of outcomes: unclogging a sink or toilet, fixing a running toilet, changing a tap washer, bleeding radiators, door hinge and creak fixes, locksmith-free lock fixes, hanging pictures, shelves and curtain rails safely, painting a room with time and cost estimates, caulking and sealing, plastering small holes, a starter tool kit with real costs, deck and fence upkeep, appliance filter cleaning schedules, smoke alarm plans by floor, emergency water, gas and power shut-offs, home repair fund targets, garden and compost basics and seasonal home checks. Each tool states its limits plainly: gas, electrics, drainage and structural work are jobs for licensed tradespeople, and nothing you type is stored. Results are estimates and learning aids, not professional advice. Want the deeper, personalised version? Each has a $2.95 full report.

πŸ”§ Fix It Basics
🎨 Paint & Put Up
🏑 Home Care & Safety
Educational home-skills information only — not professional advice, and never a guarantee of outcomes. These are the basics that work for typical homes, written from a general DIY perspective: codes, fittings and systems vary, and any job involving gas, electrics, drainage, or the structure of the building is a job for a licensed tradesperson in most places. If a fix is not working or you are not sure, stop and call a professional — that is a skill too. Refunds honoured.
Β© 2026 Home Skills Hub Β· part of the phyrenix.com network Β· WebMCP manifest Β· tools.json